Rockit™ in a Pocket – Stuffed French Toast!
Recipe created by: Valerie Musser of @valeriesofcoursecatering Ingredients: 12 sliced of thick brioche bread 6 Rockit™ Apples, peeled, cored, and...


Recipe created by: Valerie Musser of @valeriesofcoursecatering Ingredients: 12 sliced of thick brioche bread 6 Rockit™ Apples, peeled, cored, and...

Created By: Valerie Musser of @valeriesofcoursecatering Ingredients: (2 servings) 4 Rockit™ Apples cored 1 String Cheese 1 Jerky Stick Tools: Paring...

Created by: Courtney Paige | @apaigeofpositivity Ingredients: 2 Rockit™ Apples 3 cups spinach 1/2 cup rice 1/4 cup red onion 1/4 cup...

Created by: Courtney Paige | @apaigeofpositivity Learn how to make a Simple Apple Pie stuffed with layers of delicious and flavorful apples...

Created by: Courtney Paige | @apaigeofpositivity Ingredients needed for this recipe: 9 Rockit™ Apples (Visit rockit.fruitlocator.com to find Rockit Apples in a store near...
Recipe by: Emily Schuermann, Food For a Year, LLC, @food_for_a_year Yield: 6 servings This recipe uses some sweet and tart apples...

Created by: Courtney Paige | @apaigeofpositivity Ingredients: ROLL DOUGH ½ package of dry yeast (approx. ~1 TB) ½ cup almond milk (110-115F) ¼...

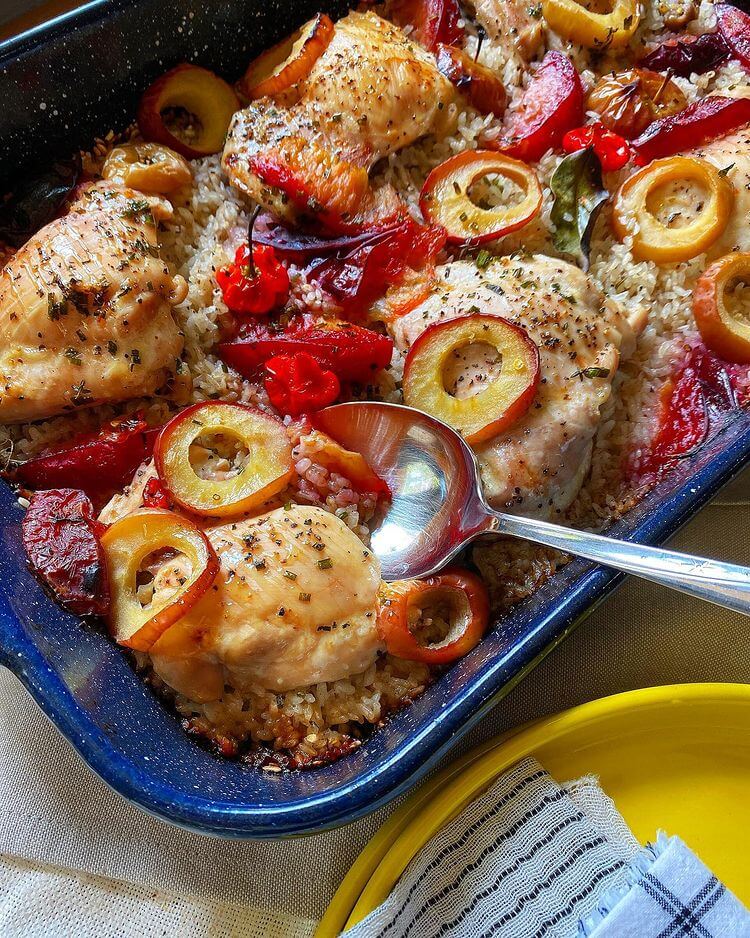
Recipe by: Truong Nguyen Yield: 4 servings INGREDIENTS ½ Pound Bay scallops ¼ Cup English peas ¼ Cup Sugar snap peas, slivered ...
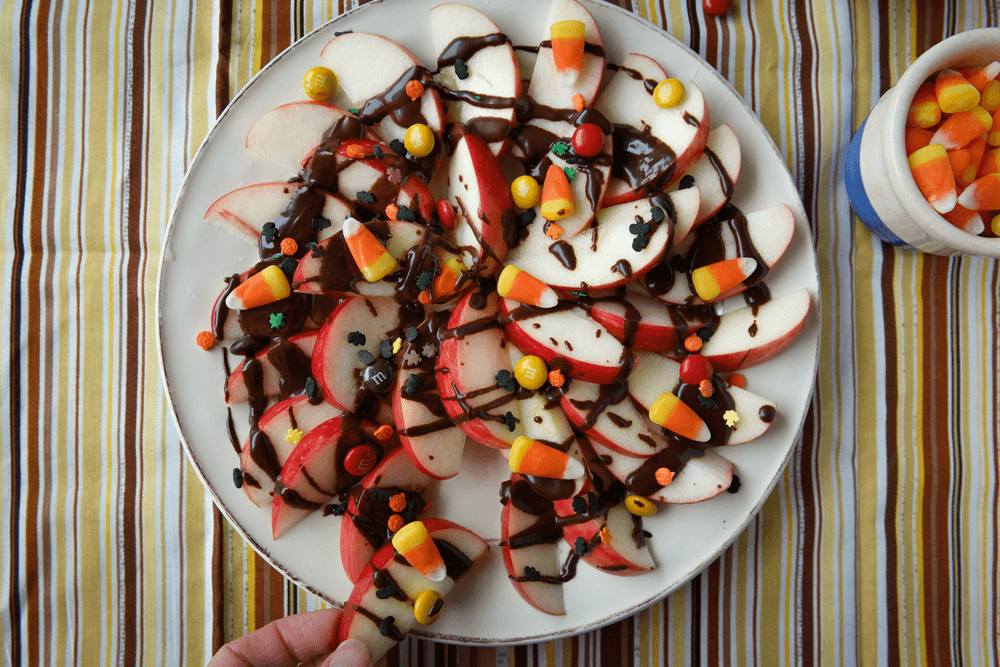
How to get kids to eat fruit? Two words: dessert nachos. Slices of raw apple are drizzled with a silky...

Recipe by: Valerie Musser Yield: 3 days’ worth Ingredients 4 cups of quartered, cored, and rough chopped Rockit™ apples ½ cup...