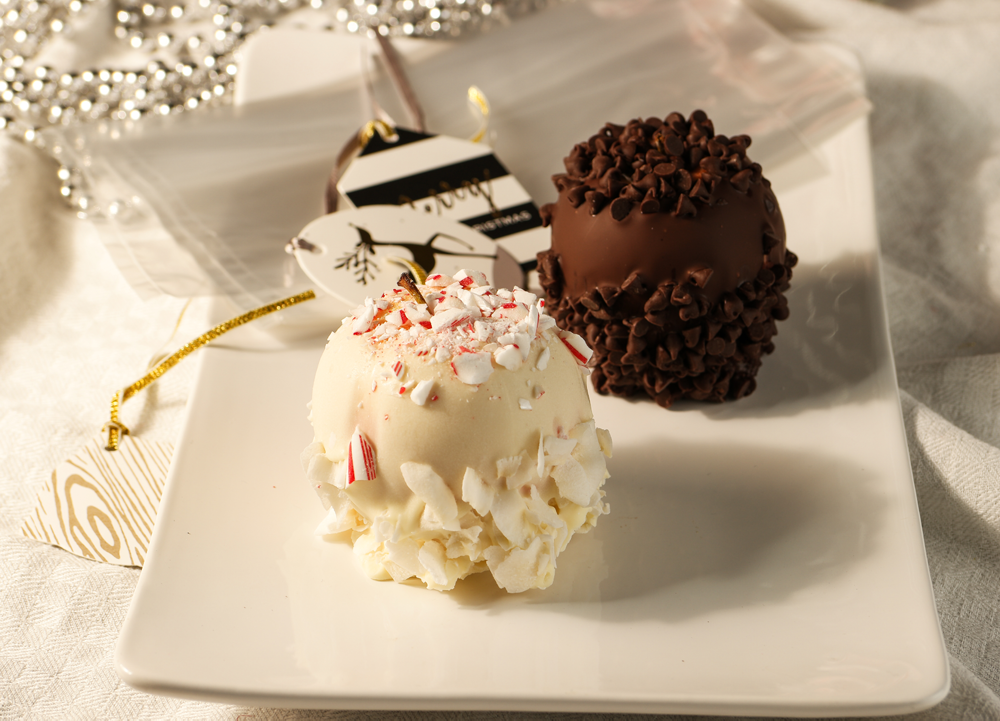
Dipped Valentine Rockit™ Apples
Will you be mine? Treat your special Valentine to adorable Rockit™ apples coated in luscious white chocolate and decked...


Will you be mine? Treat your special Valentine to adorable Rockit™ apples coated in luscious white chocolate and decked...
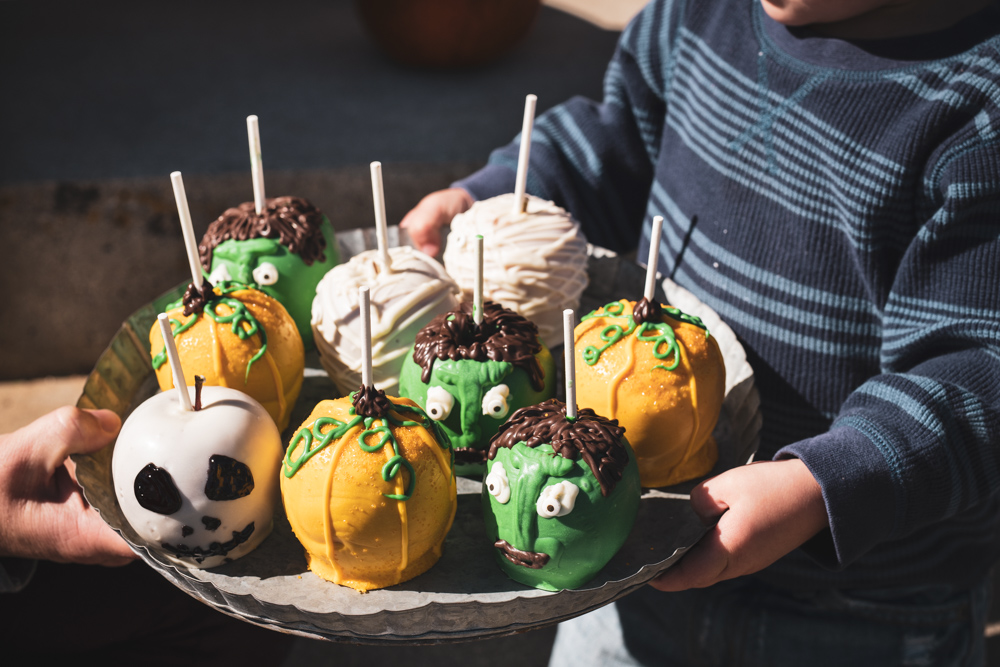
Get spooky with our pint-sized dipped Rockit™ apple Halloween monsters. This kid-friendly activity is a chance to get creative by...
Ingredients Rockit™ Apples Bags of chocolate chips for melting; chose either dark, milk chocolate or white chocolate, or one...
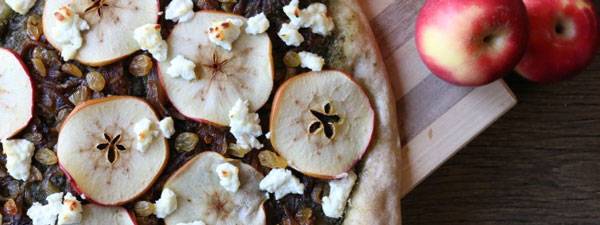
INGREDIENTS Apple Pizzas 1 store bought whole wheat crust Walnut pesto (recipe follows) Caramelized onions (recipe follows) 1 Rockit Apple,...

Yield: Makes 12 apple slices INGREDIENTS 2 Rockit Apples, each cut into 6 equal slices, and seeds carefully removed ½...