Caramelized Rockit™ Apples with Maple Cinnamon Cream
Created by: Meg Raines Yield: 3-4 servings For a wonderful and cozy fall dessert that comes together in no time flat, bake...


Created by: Meg Raines Yield: 3-4 servings For a wonderful and cozy fall dessert that comes together in no time flat, bake...

Created by: Meg Raines Yield: 2 8-inch pizzas Whether you call it flatbread or pizza, this creation serves up a delicious...

It’s boo time! Get the kids excited about Halloween with these adorable chocolate apple spiders. Our mini Rockit™ apples fit...

Tarte Tatin is a classic French dessert found in many of Paris’ bistros and brasseries. Typically served with a...

All of the warmed goodness of an apple pie in a little jar topped with melty cream or vanilla...
Created by: Sari Diskin Created for: Chelan Fresh YIELD: This recipe fills 2 – 12 oz mason jars Apple season is not just for...

Recipe by: Megan Brown, Baker Mama Satisfy your sweet tooth with these fun and yummy Apple Nachos made three ways! They’re...

Created by: Meg Raines Created for: Chelan Fresh YIELD: 12 cupcakes Our mini Rockit™ apples are as fun to bake with as they are...

Looking for a simple yet delicious Christmas dessert that can feed a crowd? Look no further than our mini...
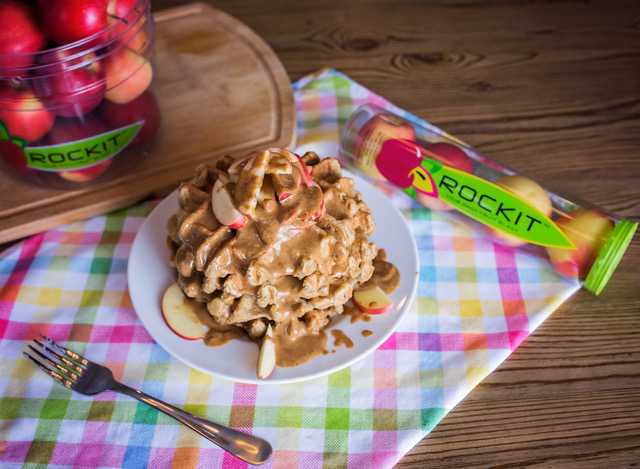
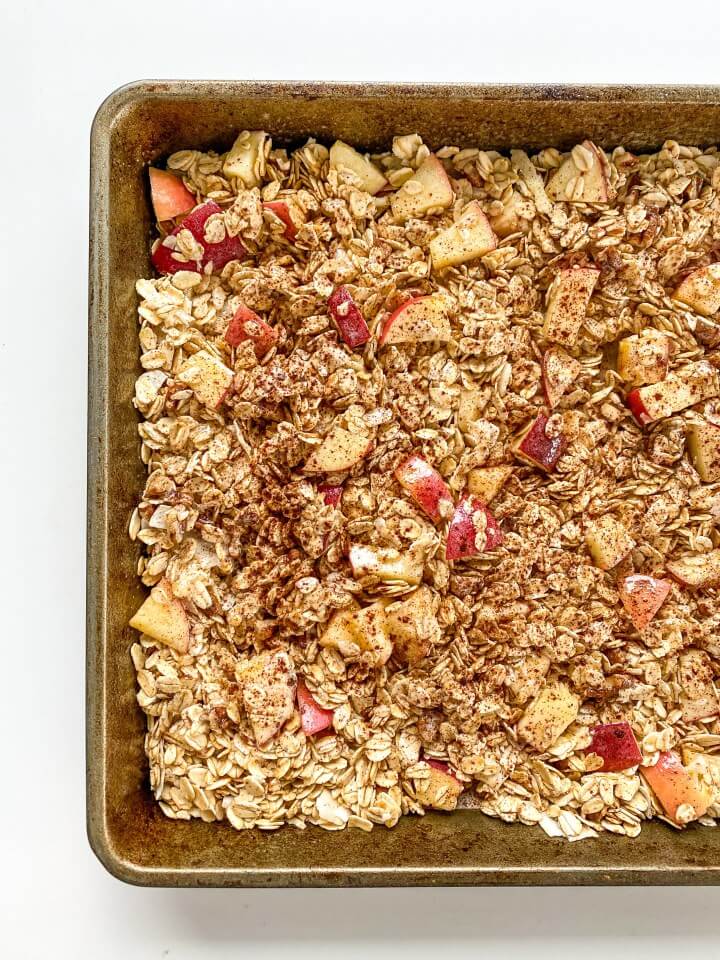
5-Ingredients, no-refined flour, no-sugar, Apple Oat Waffles!!! Our favorite breakfast! YIELD: 1 large Belgian waffle Recipe Development and Photography By: @AnnessaRD INGREDIENTS 1 egg ...