Celebrating Small-Space Cooking at Roche Harbor
Rockit™ apples are becoming the go-to ingredient and snack for cooks working in tiny galley kitchens, especially those on...


Rockit™ apples are becoming the go-to ingredient and snack for cooks working in tiny galley kitchens, especially those on...
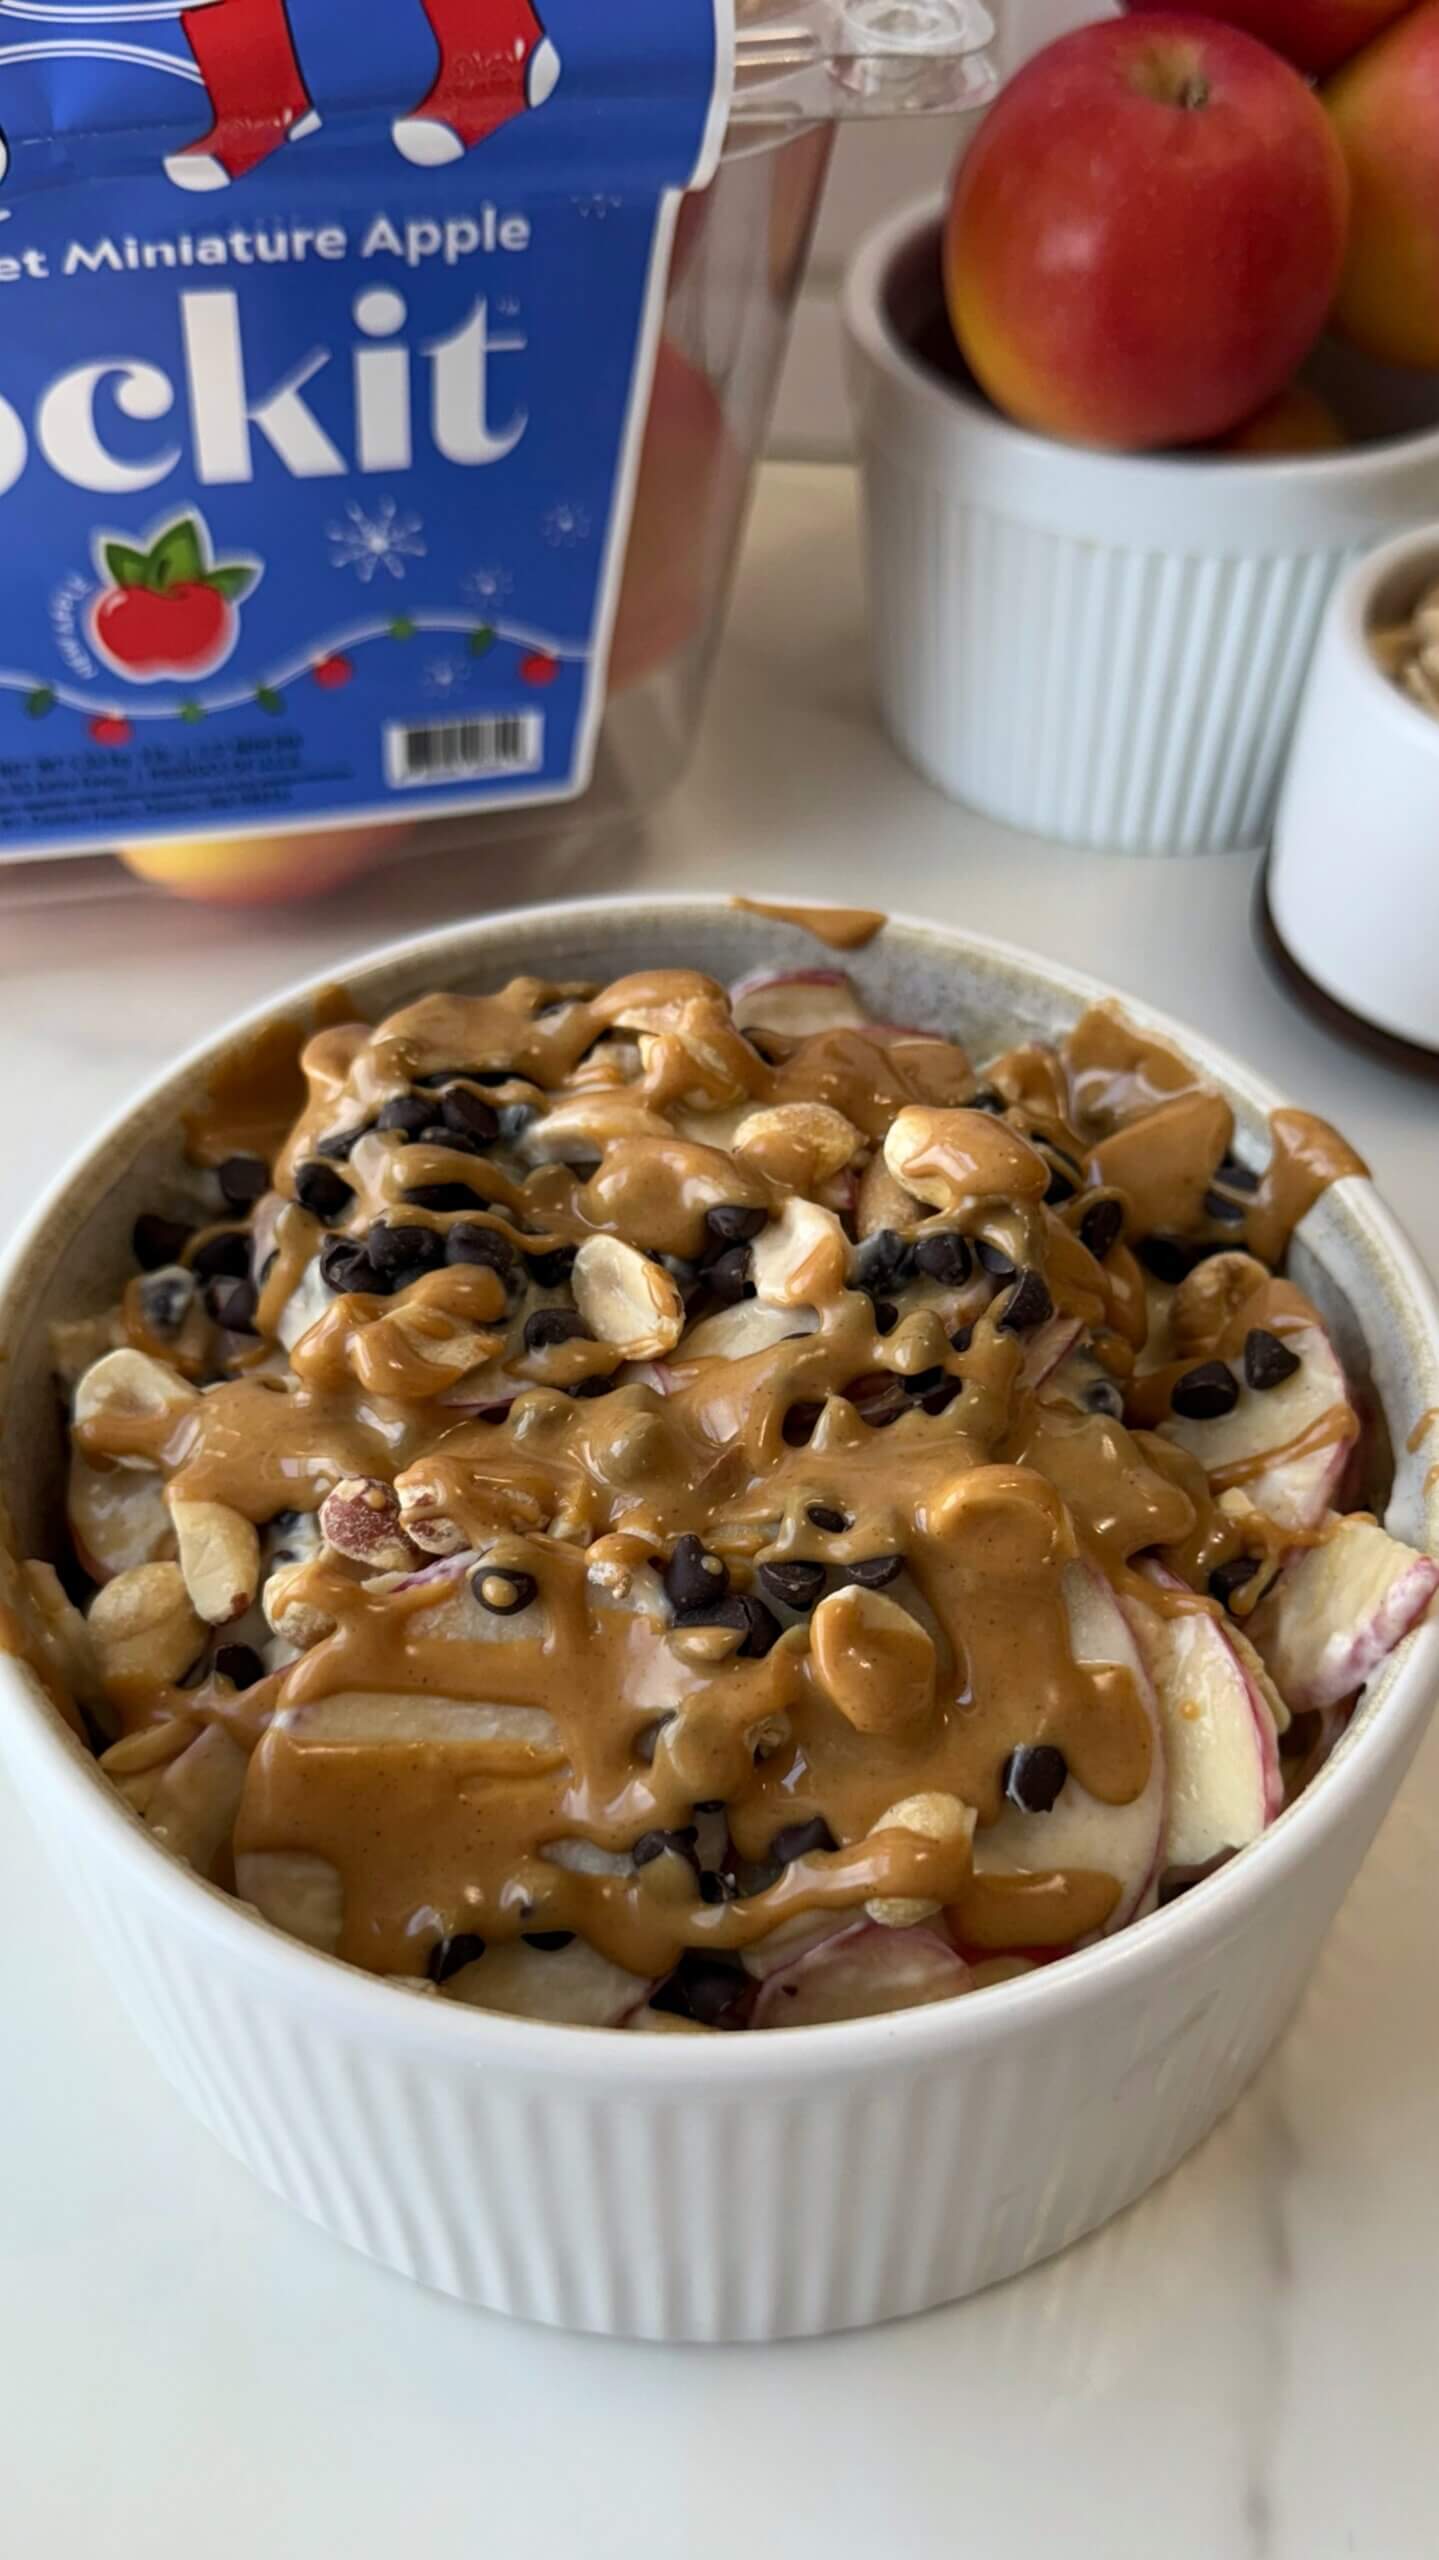
Recipe: 4-5 Rockit miniature apples ½ cup Greek yogurt ¼ cup melted peanut butter 2 tbsp maple syrup A...
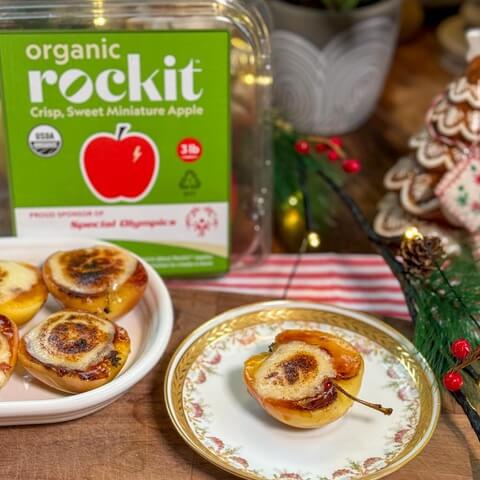
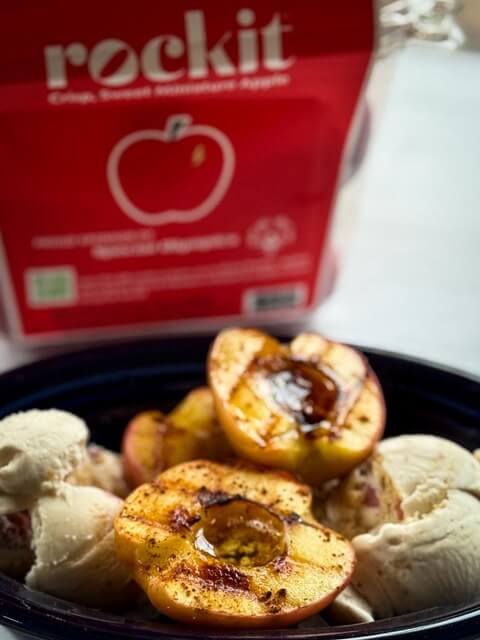
Rockit Apple Brûlée Bites are the perfect small-format appetizer for gatherings, thanks to the naturally petite size of Rockit...

These cinnamon apple protein muffins are cozy and with just the right amount of sweetness. Make them for an...

Rockit Apples are the perfect choice for this festive appetizer or vegetarian side dish. Their naturally small size makes...
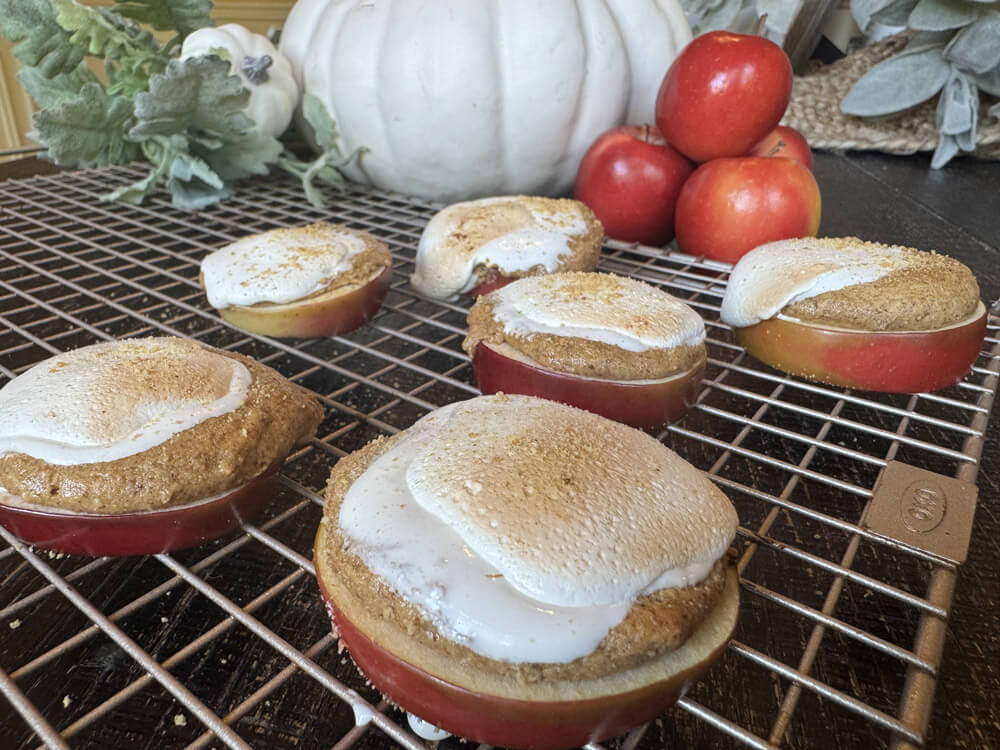
The perfect bite of fall on a sweet & crunchy mini-apple slice. Ingredients: 4 Rockit Apples 1/3 cup drippy almond...
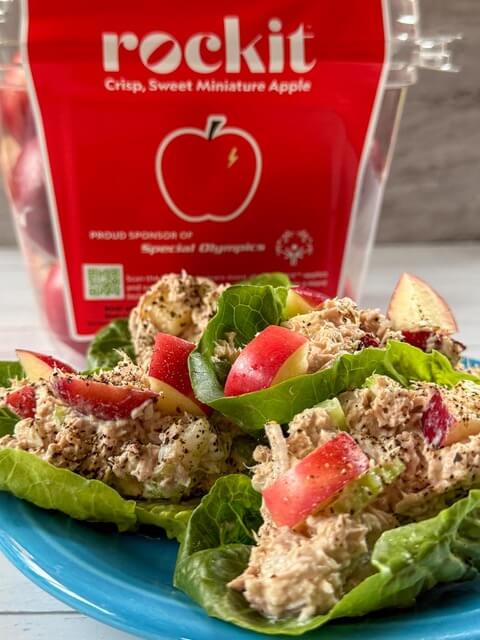
Rockit™ Apples are the perfect addition to a boat galley. Small in size, but big on crisp, sweet flavor,...
Rockit™ Apples are the perfect addition to your boat galley. Small in size, but big on crisp, sweet flavor,...
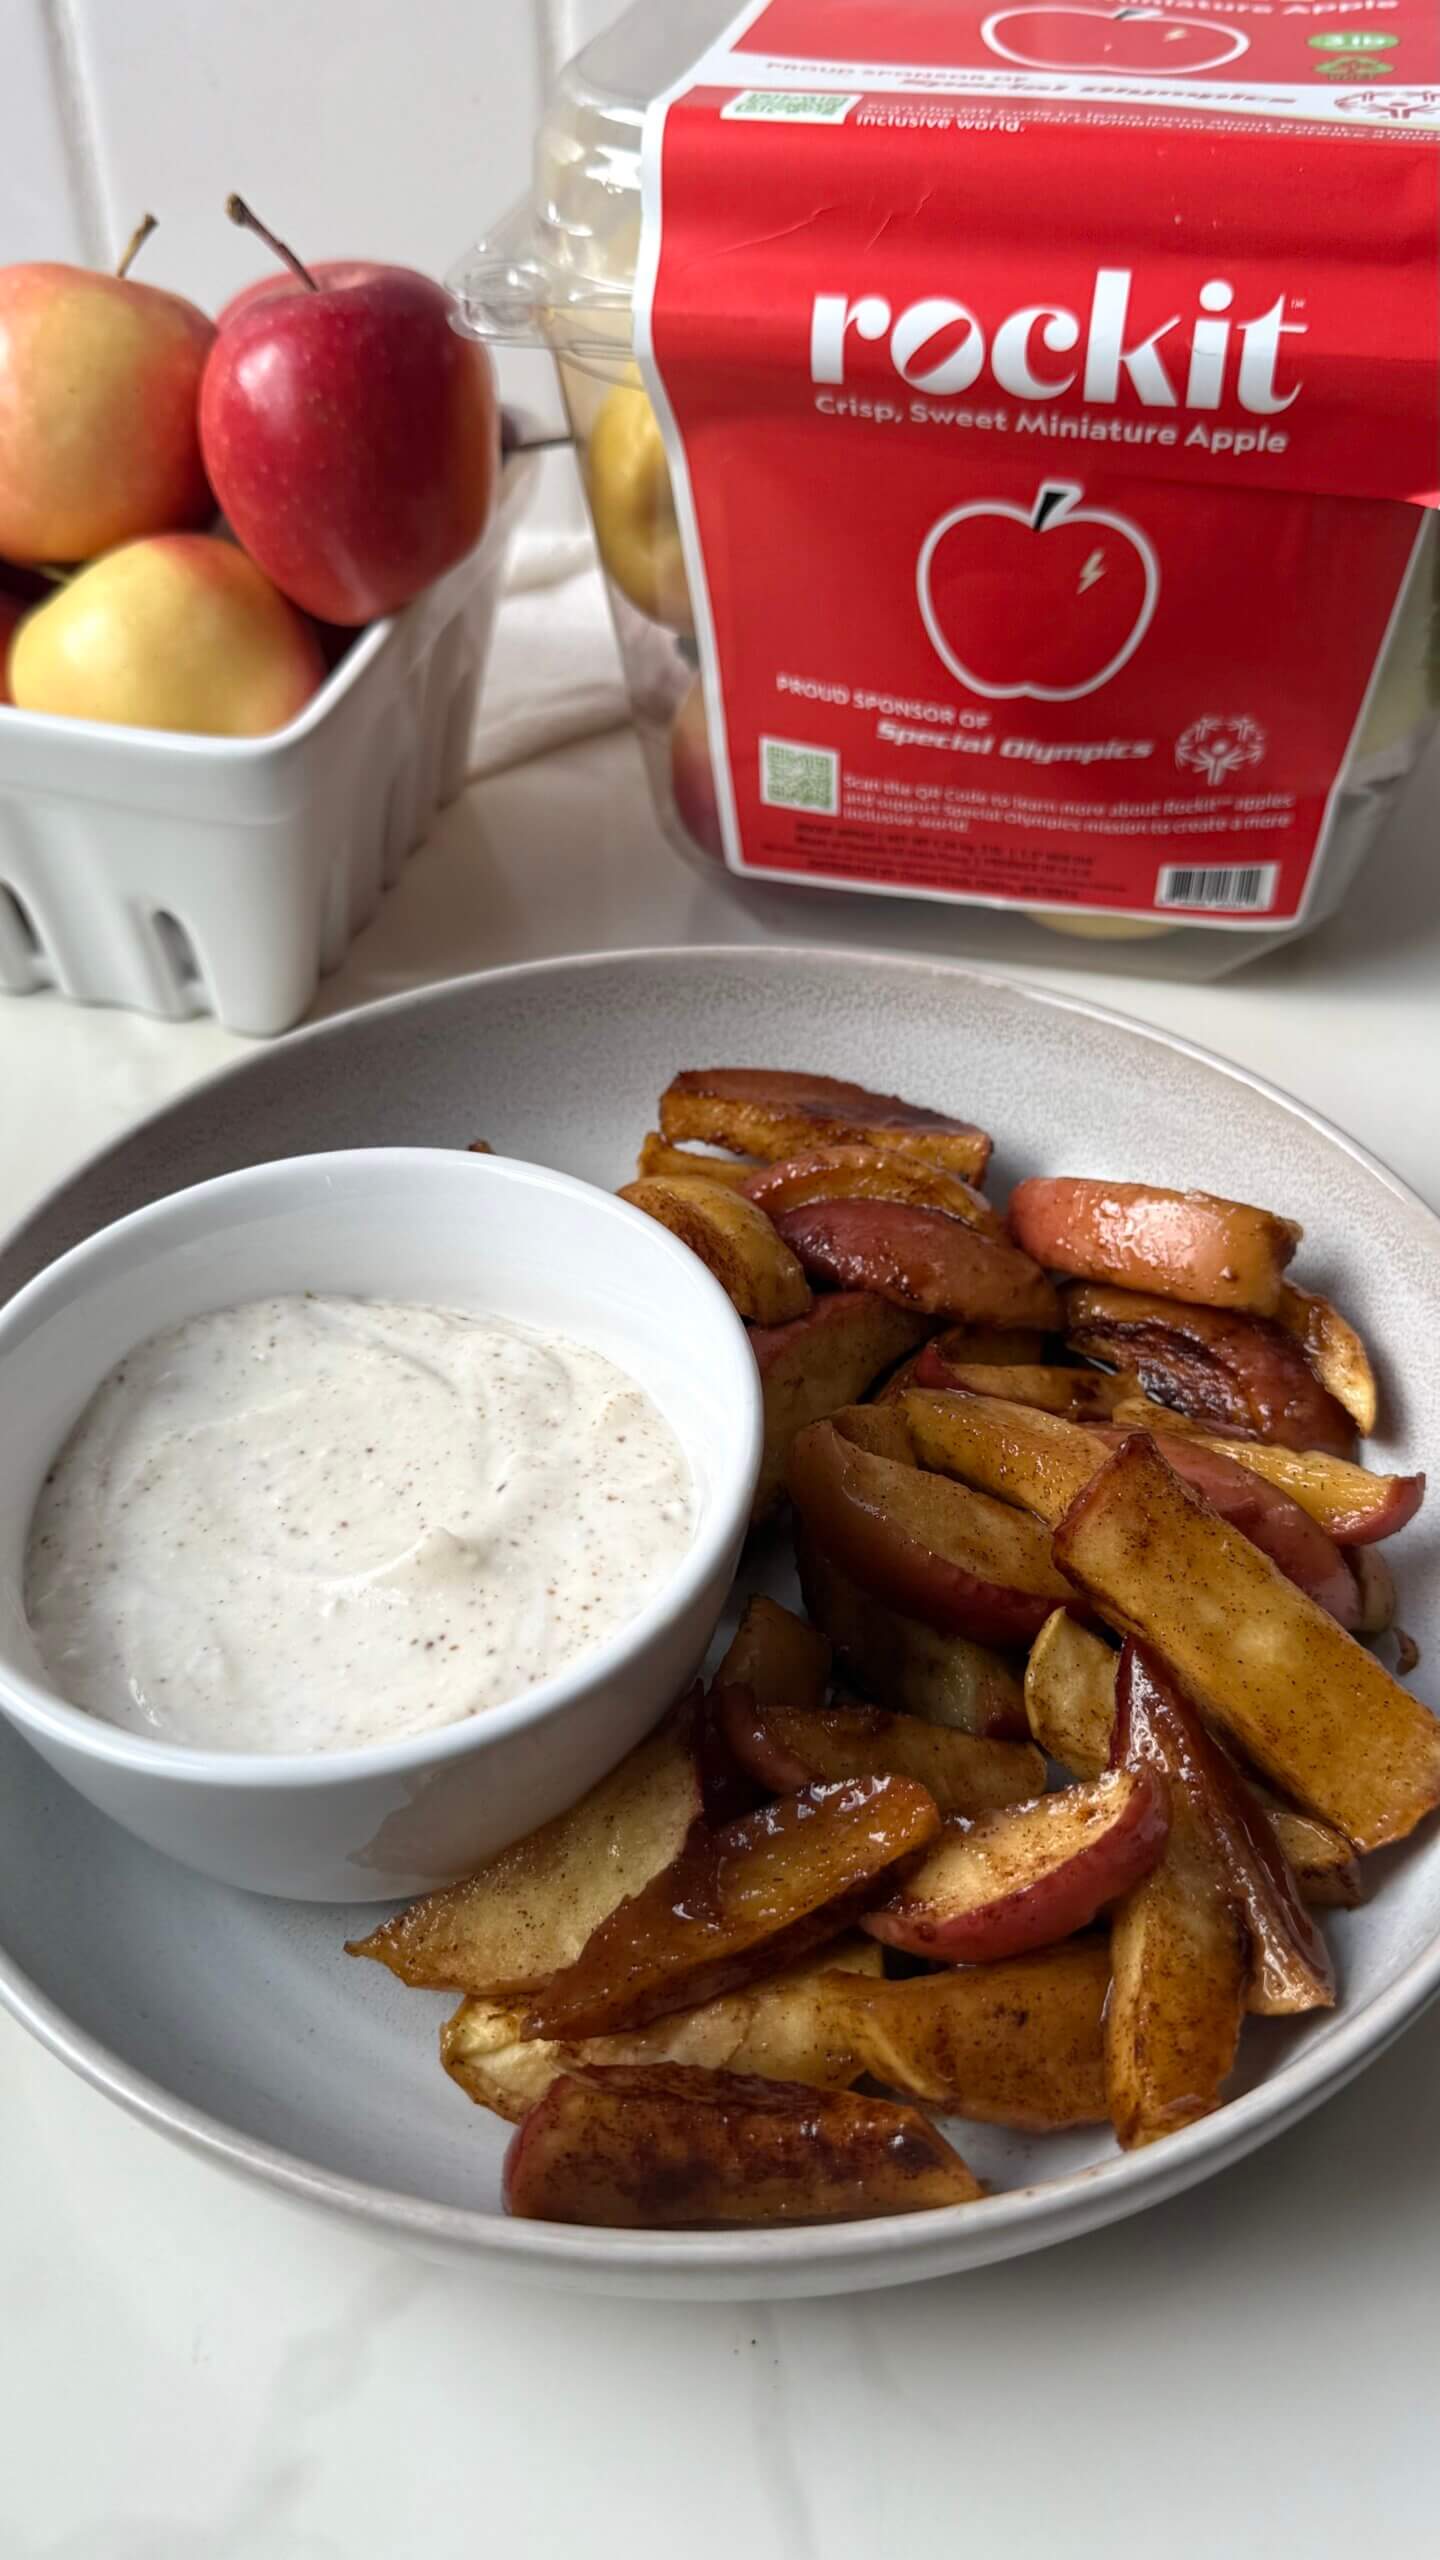
These cinnamon-sugar apple sticks are the perfect crunchy-sweet treat, made with bite-size Rockit™ miniature apples and paired with a...
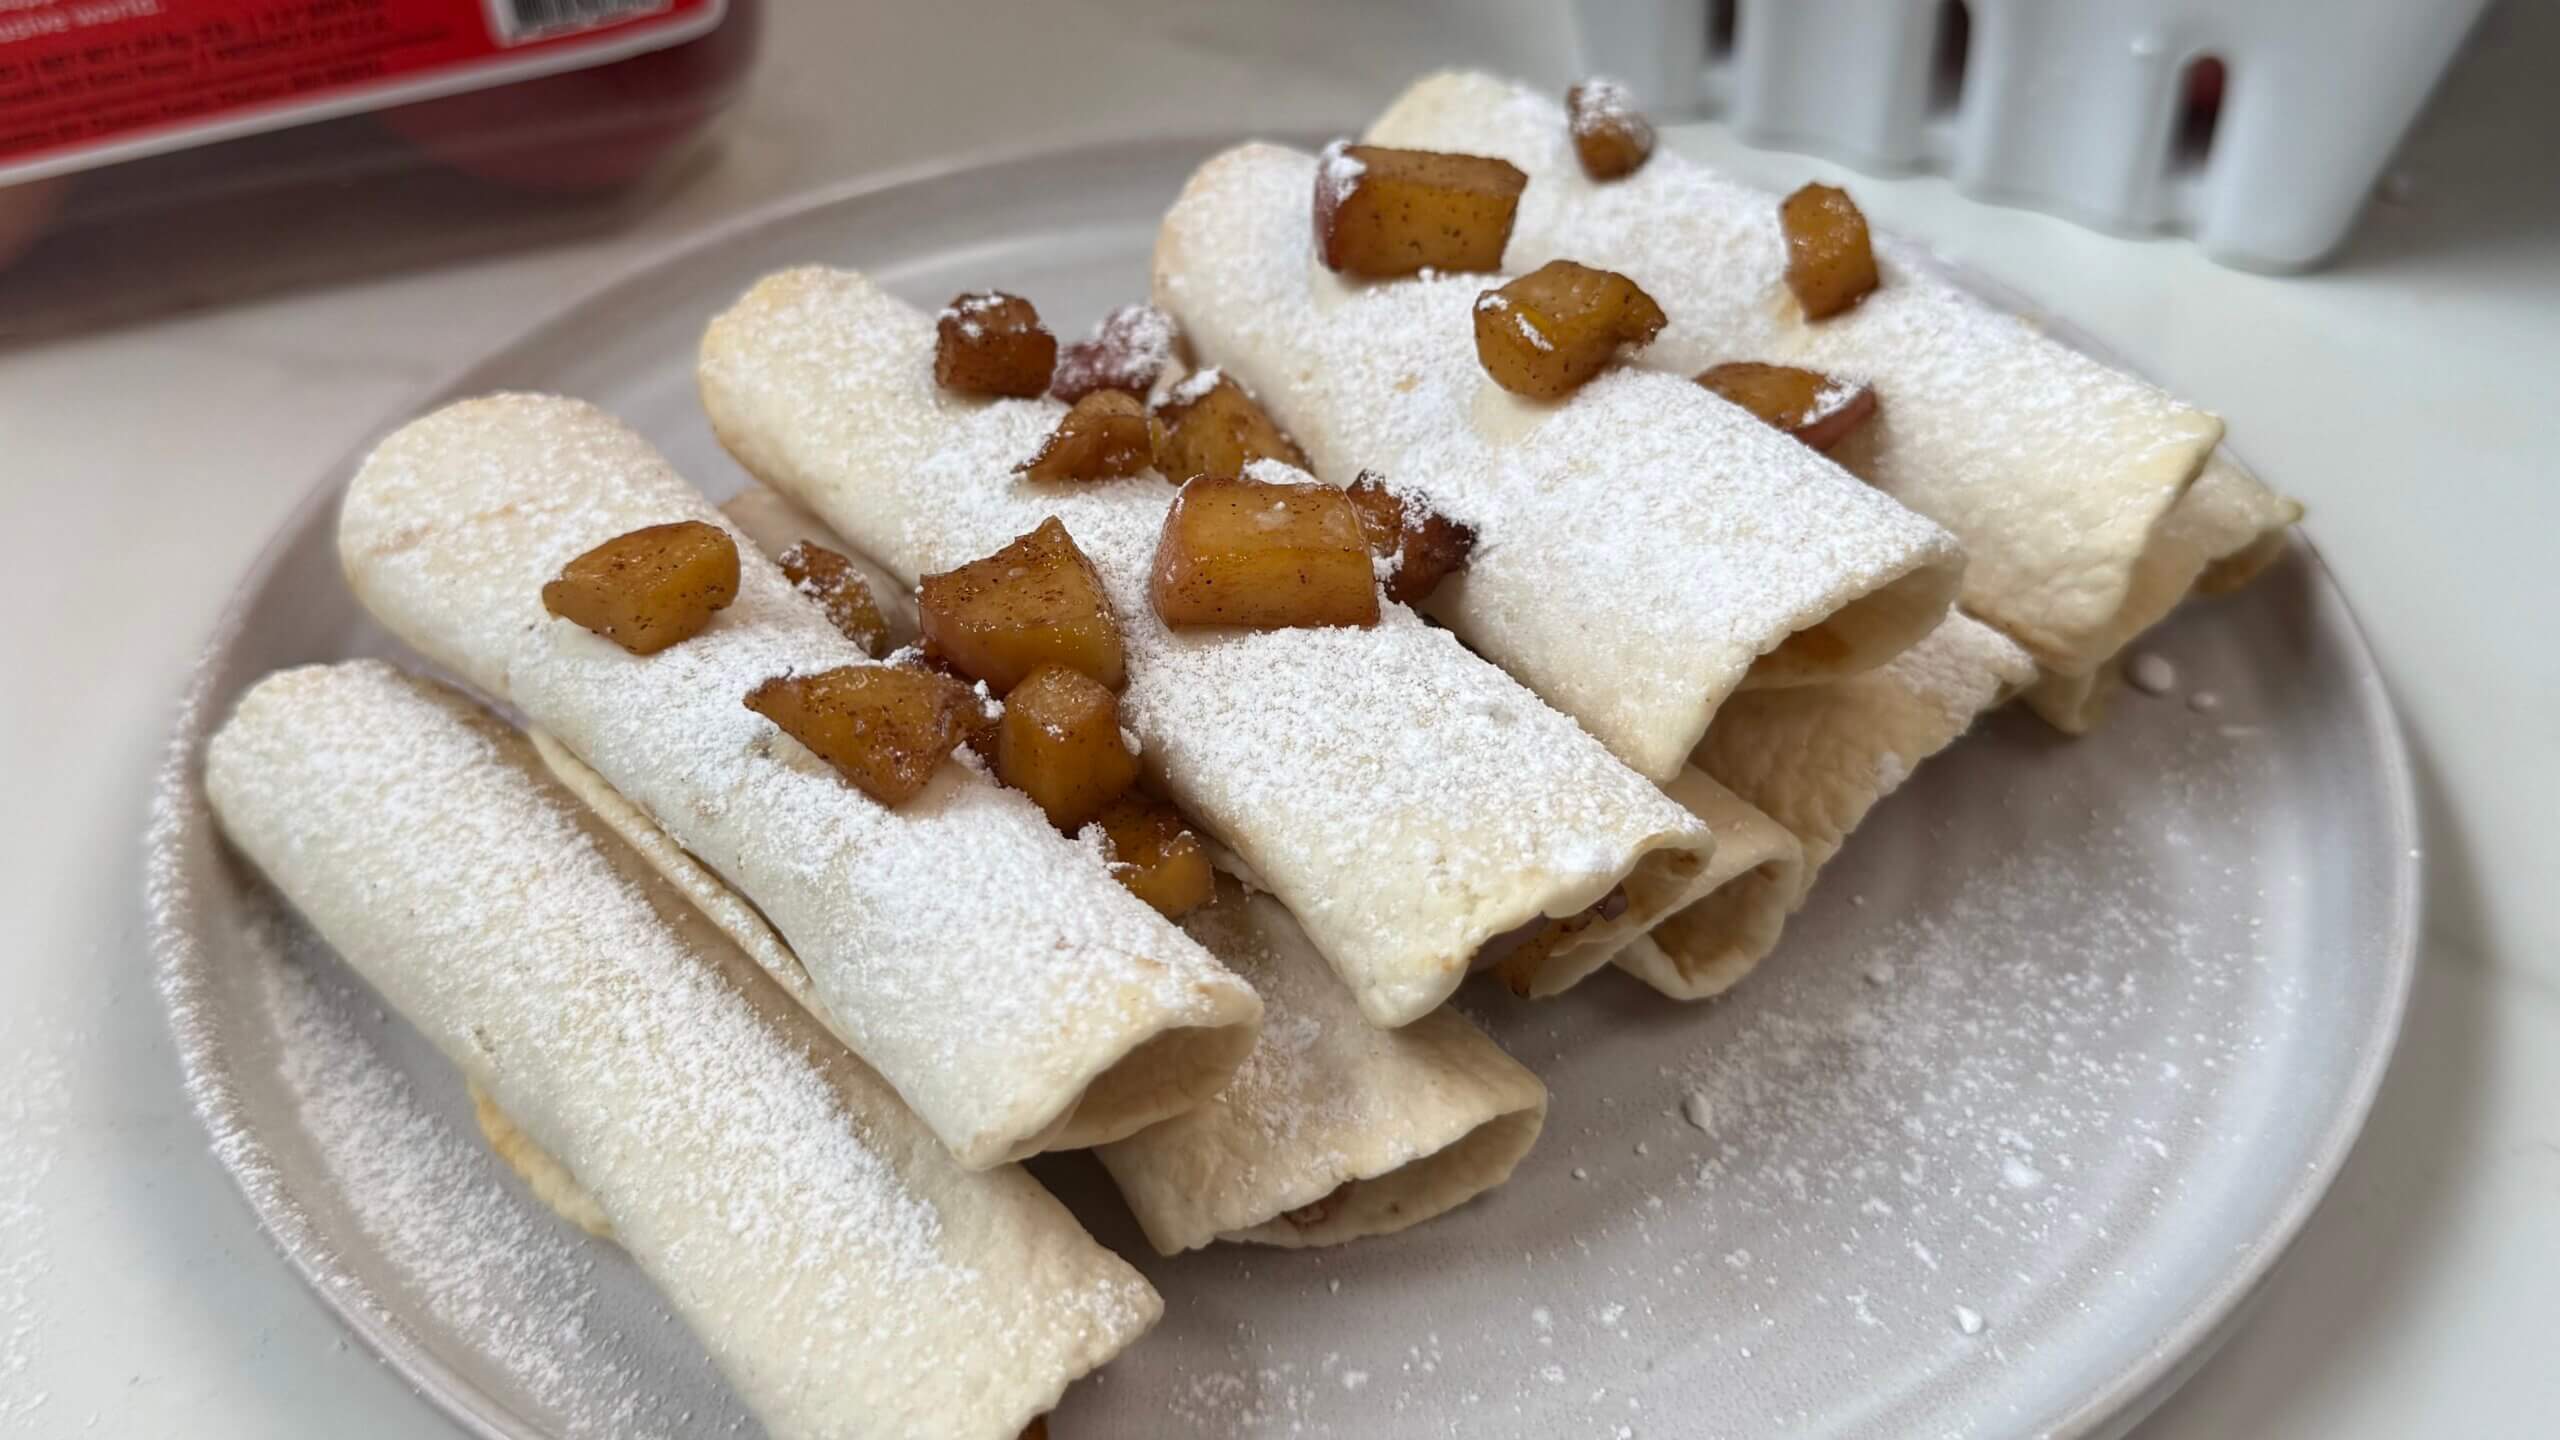
You know what’s better than taquitos?! Mini air-fried apple pie taquitos. These mini apple taquitos are the perfect treat,...