Crustless Mini Apple Pie Jars
All of the warmed goodness of an apple pie in a little jar topped with melty cream or vanilla...


All of the warmed goodness of an apple pie in a little jar topped with melty cream or vanilla...

Created by: Meg Raines Created for: Chelan Fresh YIELD: 12 cupcakes Our mini Rockit™ apples are as fun to bake with as they are...

Looking for a simple yet delicious Christmas dessert that can feed a crowd? Look no further than our mini...

Created by: Annessa Chumbley, RD Created for: Chelan Fresh A delicious little treat perfect for small hands! INGREDIENTS 10 slices bread, such as Dave's...
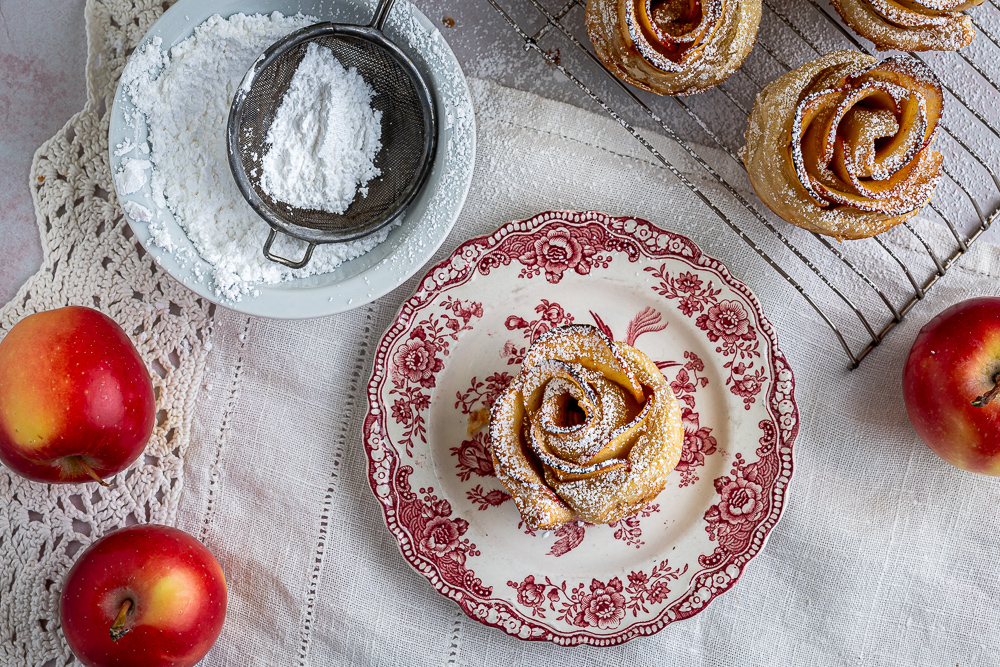
Created by: Meg Raines Created for: Chelan Fresh YIELD: 6 rosettes If you haven’t come across Rockit™ apples yet, they are lovely little pint-sized...
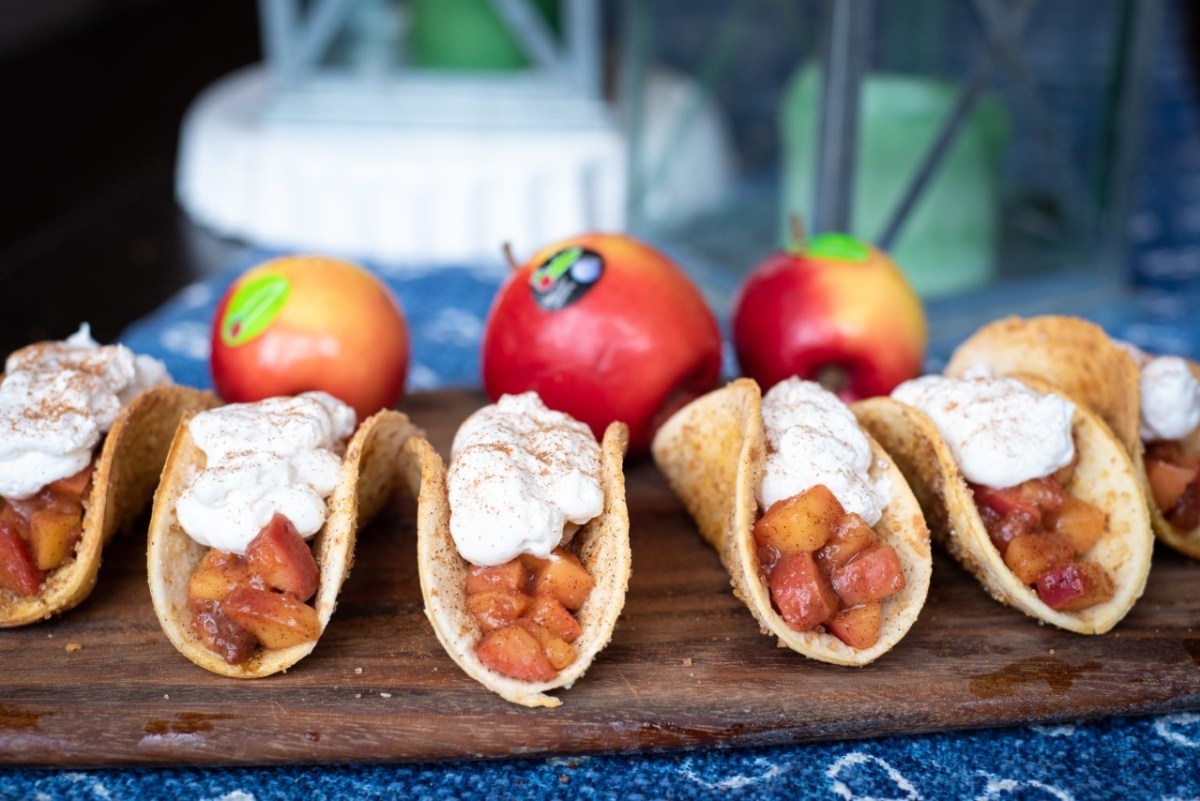
As featured on Indy Wish TV Created by: Annessa Chumbley, RD Created for: Chelan Fresh INGREDIENTS 9 soft street-taco shells (see note below) 2...

It’s beginning to look a lot like Christmas! Time to break out the festive decorations and glitz the house...

Will you be mine? Treat your special Valentine to adorable Rockit™ apples coated in luscious white chocolate and decked...
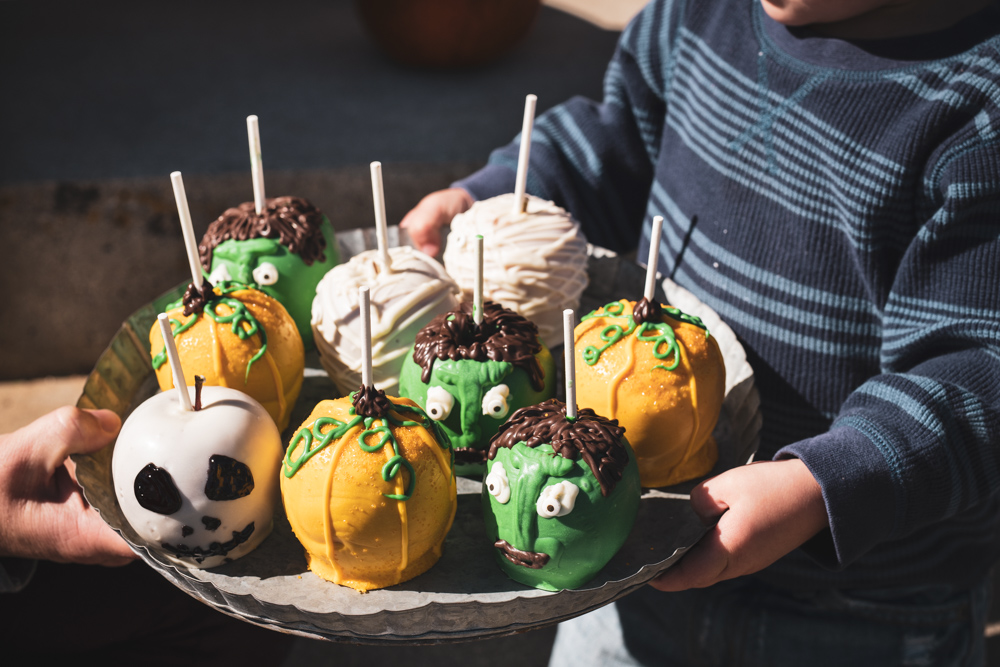
Get spooky with our pint-sized dipped Rockit™ apple Halloween monsters. This kid-friendly activity is a chance to get creative by...

Ingredients Rockit™ Apples Bags of chocolate chips for melting; chose either dark, milk chocolate or white chocolate, or one...