Rockit™ Caramel Apple Dates
Taking this trend up a notch by making these mini SNICKERS caramel apple date bites. They’re so fun to...


Taking this trend up a notch by making these mini SNICKERS caramel apple date bites. They’re so fun to...

I couldn’t resist trying the viral caramel apple bites, but I decided to take them to the next level...
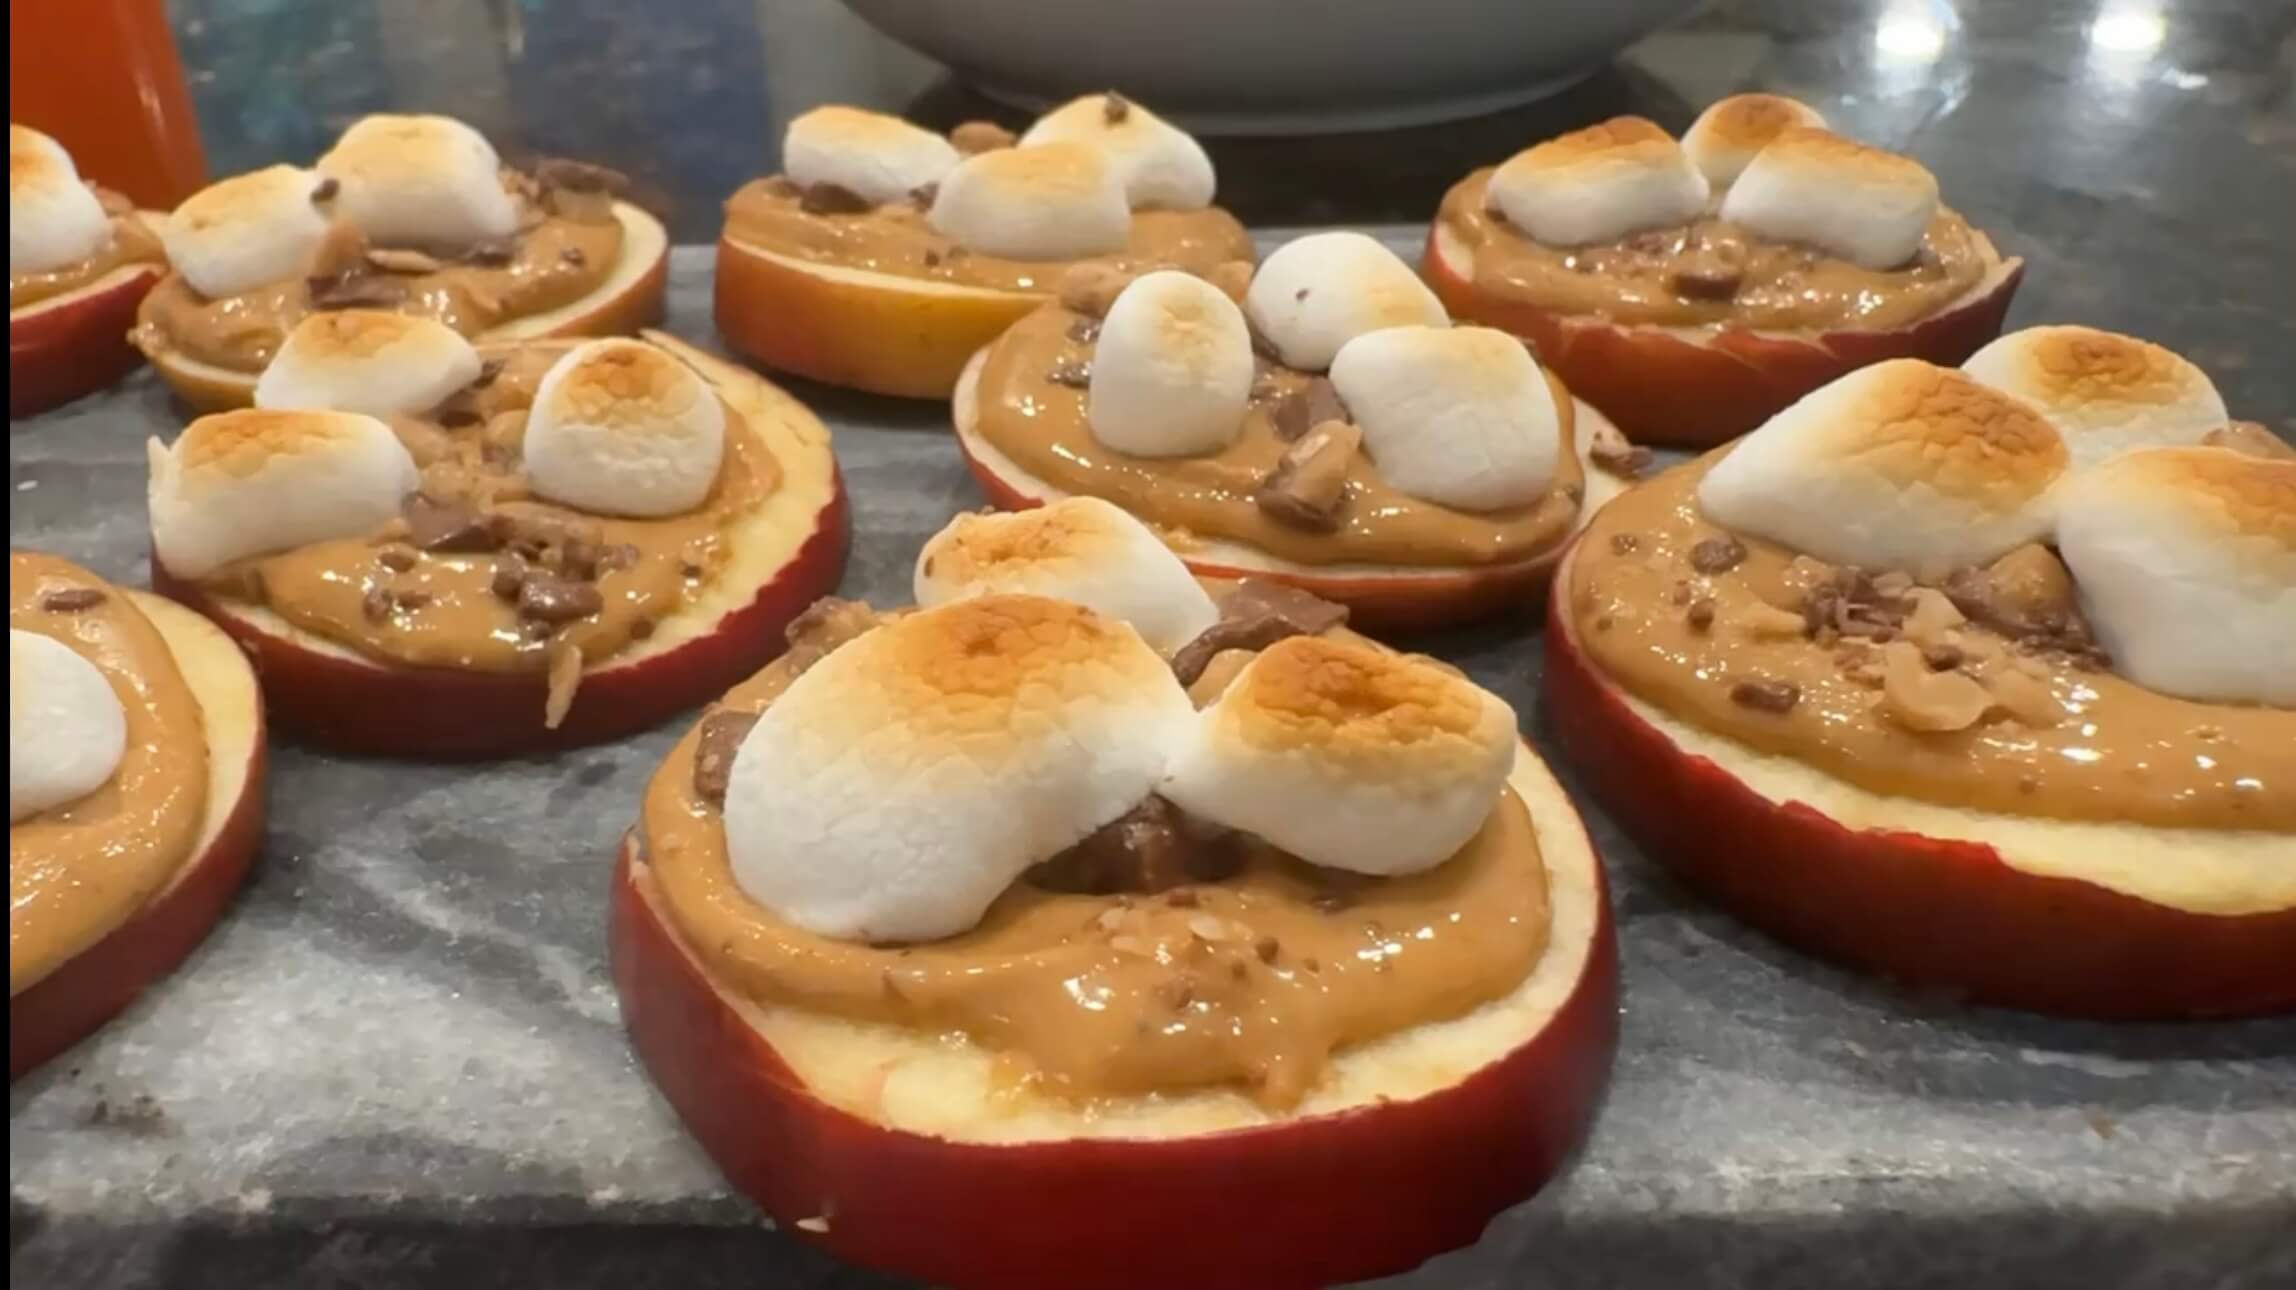
Looking for a quick, delicious fall snack? These 4-ingredient ROCKIT™ Apple S’mores are the perfect treat! Crisp apple slices...

Sweet, crunchy, little in size and big on flavor, the tiny Rockit® Apple is the perfect pairing for Pumpkin...

Created by: Courtney Paige | @apaigeofpositivity Learn how to make a Simple Apple Pie stuffed with layers of delicious and flavorful apples...
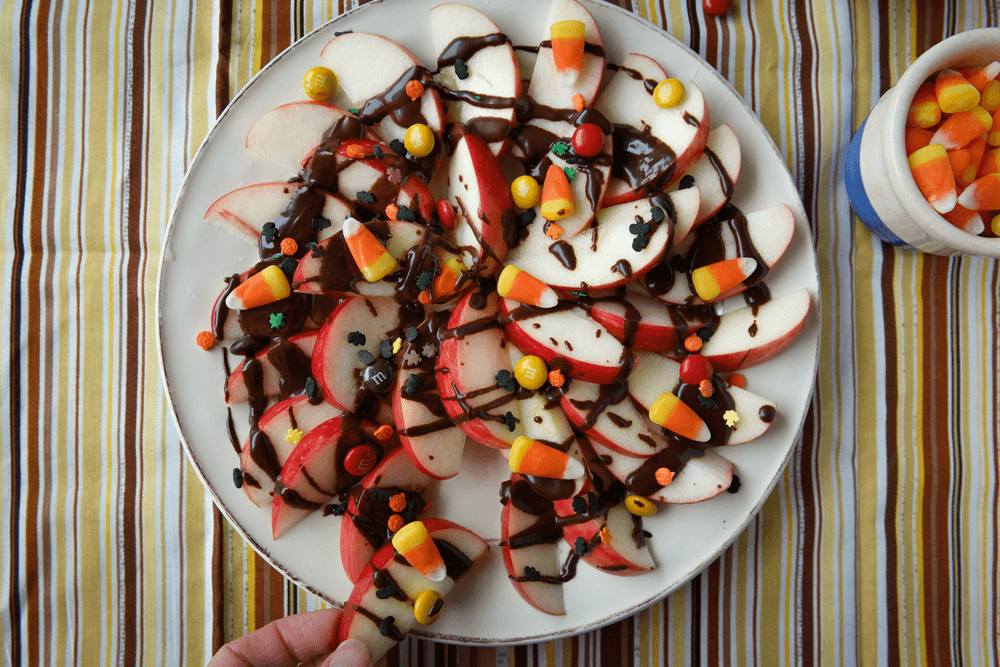
How to get kids to eat fruit? Two words: dessert nachos. Slices of raw apple are drizzled with a silky...

Yields: 4 servings Recipe by: Truong Nguyen INGREDIENTS 1 can Coconut cream (13.5 Fl Ounce ) 2 Ea. Rockit™ apple-...

Created by: Meg Raines Yield: 3-4 servings For a wonderful and cozy fall dessert that comes together in no time flat, bake...

It’s boo time! Get the kids excited about Halloween with these adorable chocolate apple spiders. Our mini Rockit™ apples fit...

Tarte Tatin is a classic French dessert found in many of Paris’ bistros and brasseries. Typically served with a...